Smoothing out the upper intake plenum.
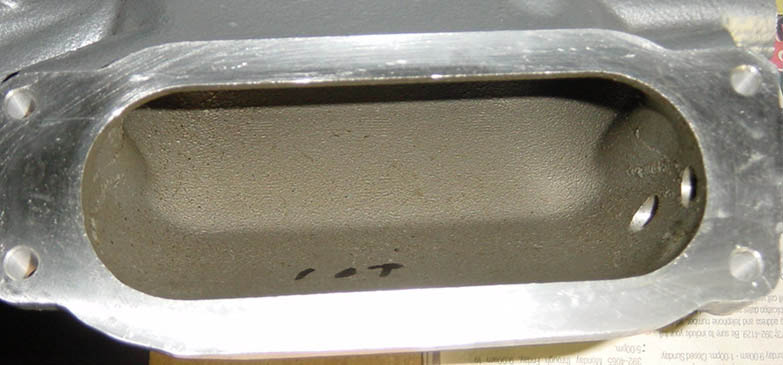
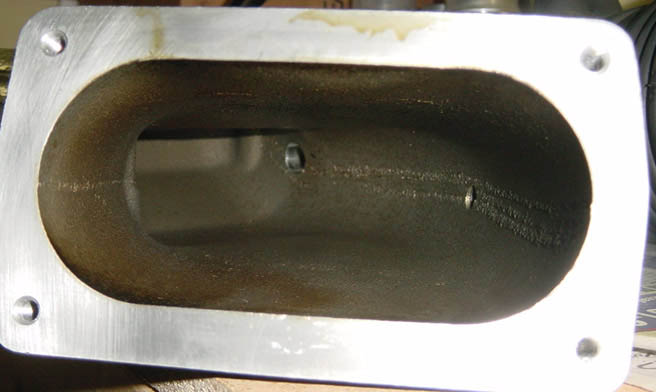
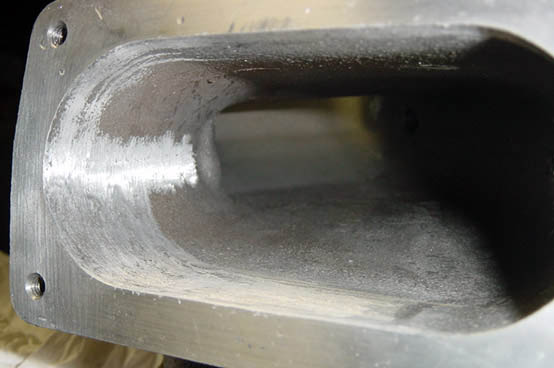
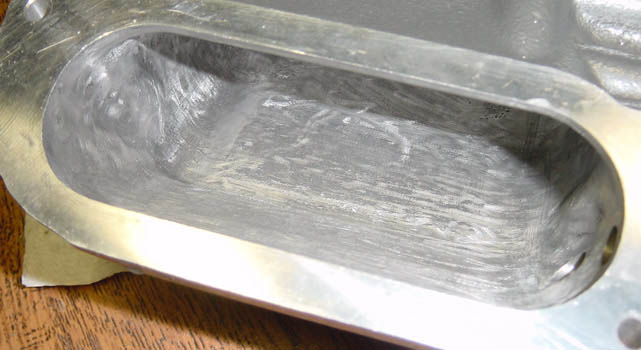
The upper intake plenum on our trucks are very rough on the inside, I'd say about equal to 60 grit sandpaper. This is what they look like:
| |
|
|
As you can see is power to be made by smoothing these out and port matching them to the blower intake and throttle body. There are 2 ways I know of to get this done, one is extrude hone it, which can get really costly. I don't know much about the extrude hone process, but from I've researched from this company Extrude Hone , it looks as if they force a thick abrassive substance through and it removes material and smoothes at the same time. The other way is do it by hand, which is what I chose to do. Advantages of doing it yourself inlcude: cheaper if you have the tools, some more experience and the joy of doing it yourself. It will take alot of time, and the finish will come out dependant on the time, effort and attention to detail you put in it.
Disclaimer - I have never done something like this before, and the only research I've done has been F150 online. So in essence the steps I am performing are best described in technical terms as winging it. IMO I don't see this as that hard of a task, so if I screw something up, oh well.
My process overview.
Now for my process. Obviously the first thing to do is remove the upper intake plenum and clean it. As for smoothing it out, my plan is as follows:
Tools used.
|
|
On to the process.
Remove any major bumps with sanding wheel
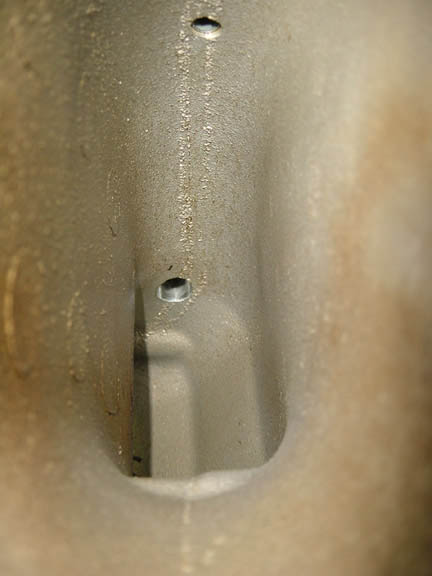
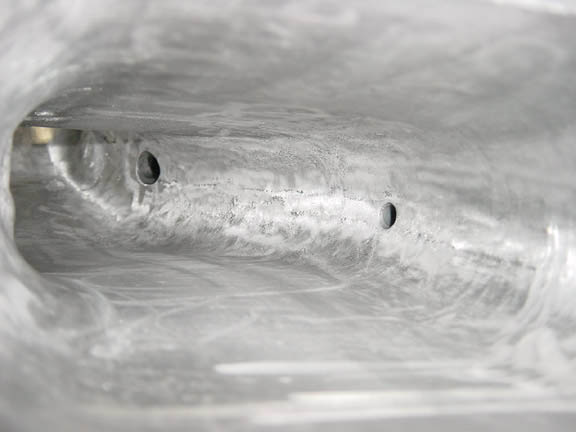
First thing was after inspecting the plenum was that there was several really bumpy metal drippings. I decided that these should be the first go to, plus they will save flapwheels from be destroyed quicker. So I whipped out the dremel with the sanding bandwheel and grinded away. There was to much of these and within 15 minutes I had most of it done. Heres some pics of what it looked like after that:
 |
 |
remember - Be carefull not to remove to much material from the ends of the plenum, especially the end that connects to the blower.
Rough sanding with sand paper by hand and 80 grit flap wheel
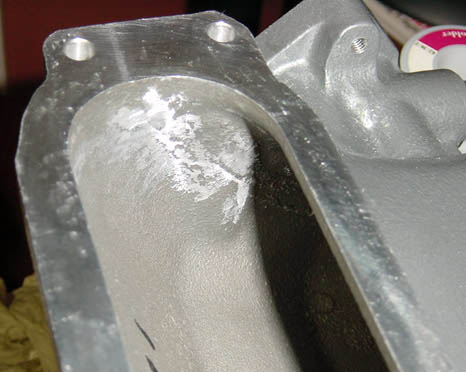
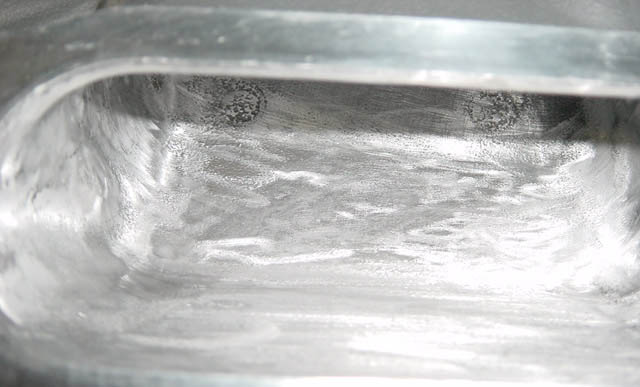
For this I just used either 100 grit or 150 grit sand paper strips (which ever I happened to grab). First I did some rough sanding by hand to help remove some of the really rough casting. After that I switched back and forth between the 80 grit flap wheel and the sandpaper. After about 3 to 3˝ hours it looked like this:
 |
 |
 |
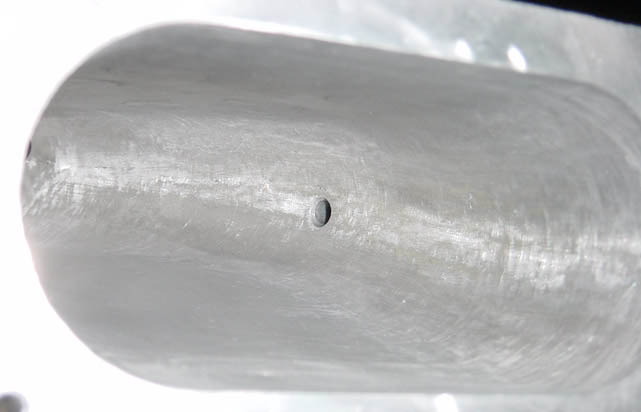
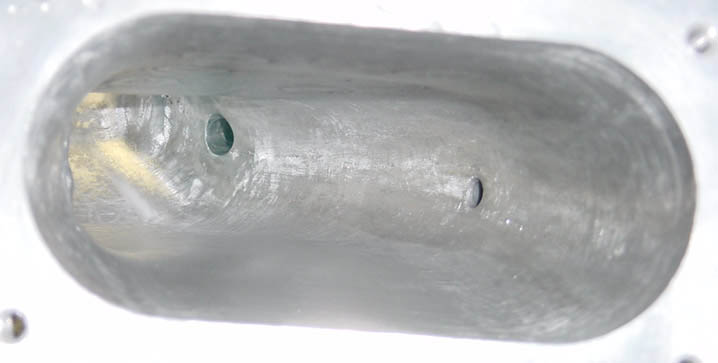
Well after another few hours got 99% or the rough spots sanded down with the 80 grit flap wheel and some 100 grit sandpaper by hand. So far it's feeling much smoother then it looks. I'd say by this step most of the major work is done. So I decided to go on and bring out the 120 grit flapwheel. That started to make some difference. I then proceded to sand it by hand with 150 grit paper. What a pain, just glad my hands and for-arm can fit in the. Heres some pics up to the end of this step:
 |
 |
 |
remember - Be carefull not to remove to much material from the ends of the plenum, especially the end that connects to the blower.


